|
Stocking Equipment in and out (Items) |
  
|
|
Stocking Equipment in and out (Items) |
|
This is very similar to the processes involved with using the Types Stocking In and Out, however this gives you the option to connect specific Items each transaction.
First Select the Action that is required
Then select the Source and Destination
Enter the Quantity
Create or allocate Barcodes involved in this transaction
Add any Notes or Reference numbers
Press the Process buttons.
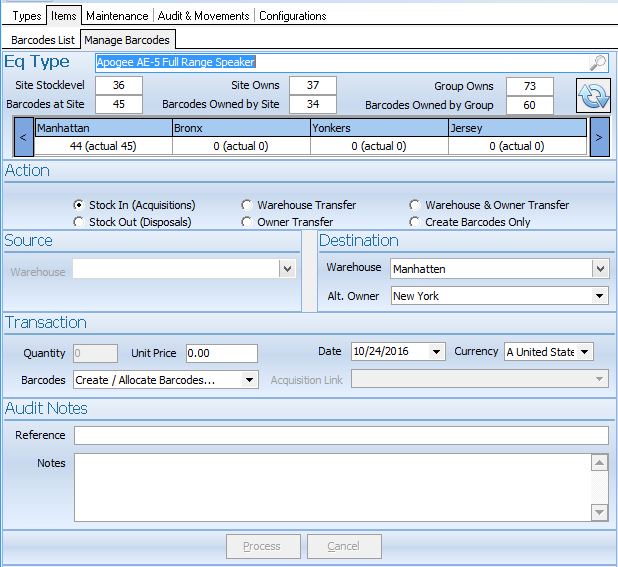
| • | Select Stock in (Acquisitions) |
| • | Select Destination Warehouse |
| • | Select Owner |
| • | Click on Create Allocate Barcodes |
A window will appear that will allow you to scan in Barcodes via a scanner or manually add the Barcodes and serial number of the items you wish to add to stock
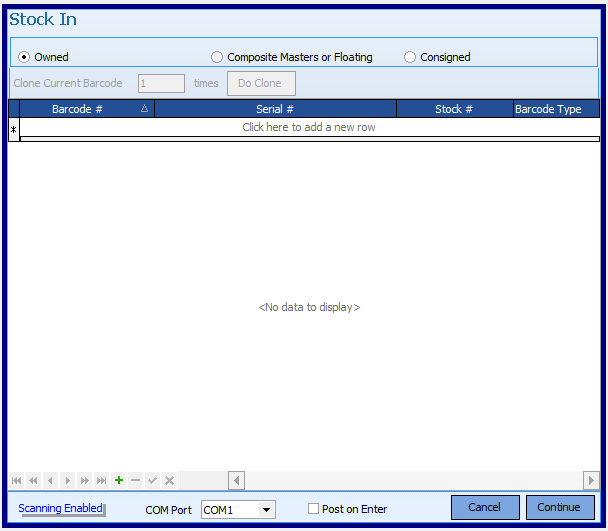
click to enter the first barcode to be added or use an attached serial scanner
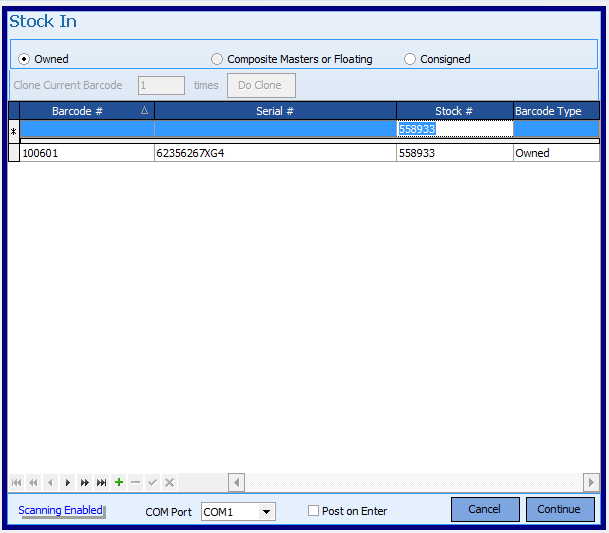
If you have several Barcodes with incremental numbers you can clone the first Barcode.
First press the tick ![]() to save that entry, then enter the number of times you wish to clone the Barcode and press the 'Do Clone' button
to save that entry, then enter the number of times you wish to clone the Barcode and press the 'Do Clone' button
The Barcode will be entered 10 times and incremented each time
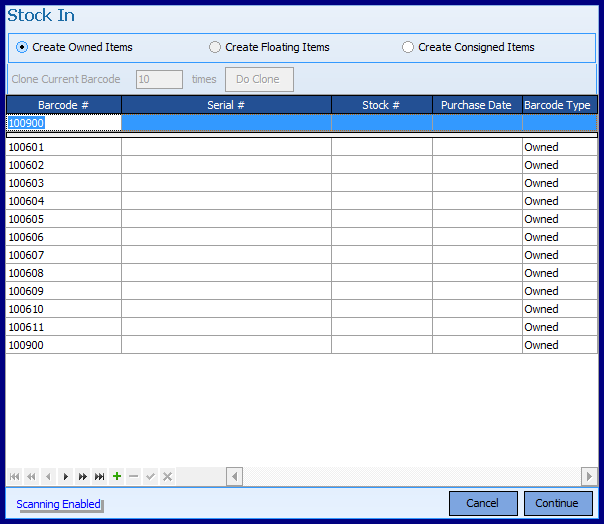
You can then continue to enter Barcodes and press Continue when all have been entered.
Finally press the Process button
The number of Barcodes and the number owned increases by the number of Barcodes entered.
NOTE: Owned items is the default - Floating items have no owner and can be used to track items that you do not own but still wish to track - such as Subhired items.
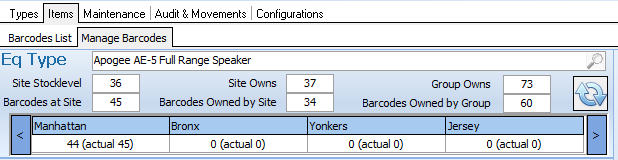
Select the Manage Barcodes tab in the Inventory>Items page
Select Stock out (Disposals' in the Actions section
Select where the Barcodes are being removed from
Click on Create allocate Barcodes in the Transaction section
In the Pop up Window, select the Barcodes that are being removed and press Continue
Add any notes
Press the Process button